Every summer, hedgerows burst with glossy blackberries — free for the picking if you know where to look. For me, making blackberry jam has always been one of the most satisfying preserving projects. It’s simple, beginner-friendly, and the flavour is unbeatable: sweet, tangy, and packed with that unmistakable taste of summer.
I absolutely love taking the family out for a walk, dog running around like a loon with a few plastic tubs in a bag ready for looting the local hedgerows. Its free exercise, family time and you’re getting free fruit; what not to like?!
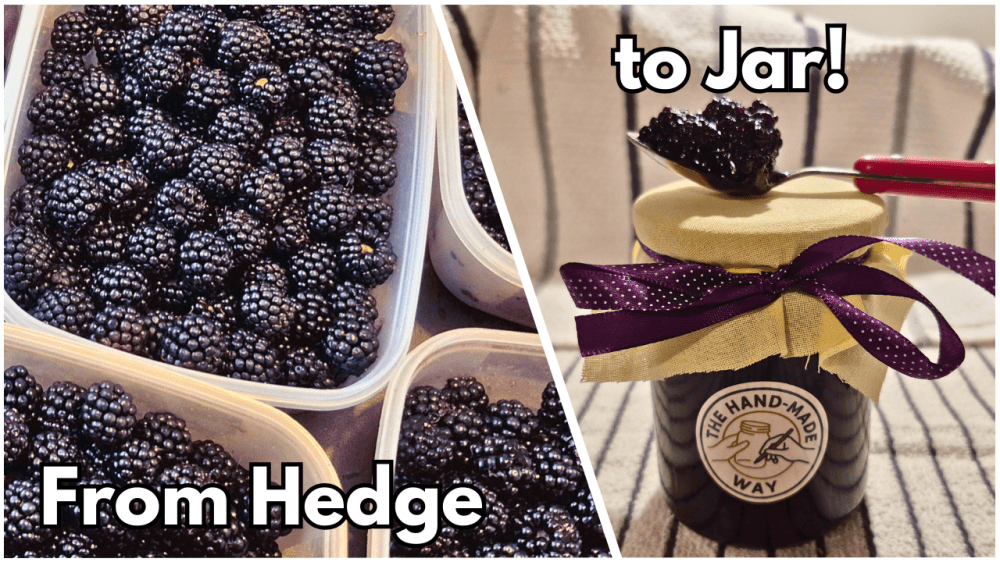
This recipe is the same one I use in my YouTube video — where I take you step by step through the whole process. Whether you’re picking wild berries, using homegrown ones, or grabbing a punnet from the shop, this is the perfect way to capture blackberry season in a jar.
Why Make Blackberry Jam?
Blackberry jam is one of those preserves that never disappoints. It:
- Works beautifully on toast, crumpets, or scones.
- Adds a fruity twist to yogurt or porridge.
- Makes a wonderful filling for sponge cakes.
- Is a brilliant way to use up large foraged harvests.
And the best part? You don’t need fancy equipment or complicated techniques — just a big pan, sugar, and berries
Ingredients (Can be scaled up/down):
- 1.2kg Fresh Blackberries (Foraged or shop brought!)
- 700g Granulated sugar
- Juice of one lemon
Equipment (Affiliate Links):
Instructions:
Step 1 – Prepare the fruit
Wash the blackberries gently and remove any stems or leaves. Weigh them to know how much sugar you’ll need (60% of weight, although traditionally its 1:1!).
Step 2 – Combine with sugar
In a large preserving pan, add the blackberries, lemon juice, and sugar. Stir well and let sit for 10–15 minutes — this helps the sugar draw out the juices.
Step 3 – Boil to set
Heat gently until the sugar dissolves, then bring to a rapid boil. Cook for about 10–15 minutes, stirring often. Test for setting point by placing a spoonful on a cold plate — if it wrinkles when pushed, it’s ready.
Step 4 – Jar it up
Pour into sterilised jars, seal, and let cool.
Want a detailed breakdown? See the video here, save it to your watch later and make along with me!
Serving Suggestions
- Spread thickly on hot buttered toast or scones
- Swirled into natural yogurt or porridge
- Used as a cake filling with whipped cream
- Warmed slightly and drizzled over ice cream
- Given as a thoughtful homemade gift
Blackberry jam is one of the simplest and most rewarding preserves you can make. Whether you’re new to preserving or adding to your homemade pantry, it’s a recipe that never fails. Grab a basket, head out blackberrying, and enjoy turning nature’s bounty into jars of rich, fruity goodness.
If you try this recipe, let me know how it turned out in the comments — and don’t forget to check out the video above to see the whole process in action

Leave a comment